There's a new craze that's sweeping the quilting nation. It's called English paper piecing and it's popularity has skyrocketed. The book that has really seemed to inspire this hype is Millefiori Quilts by Willyne Hammerstein. Her work is just exquisite. Haven't heard of her or the book? Perhaps the term la passacaglia will ring a bell? (Don't worry about pronunciation. I don't think anyone says it the right way.)
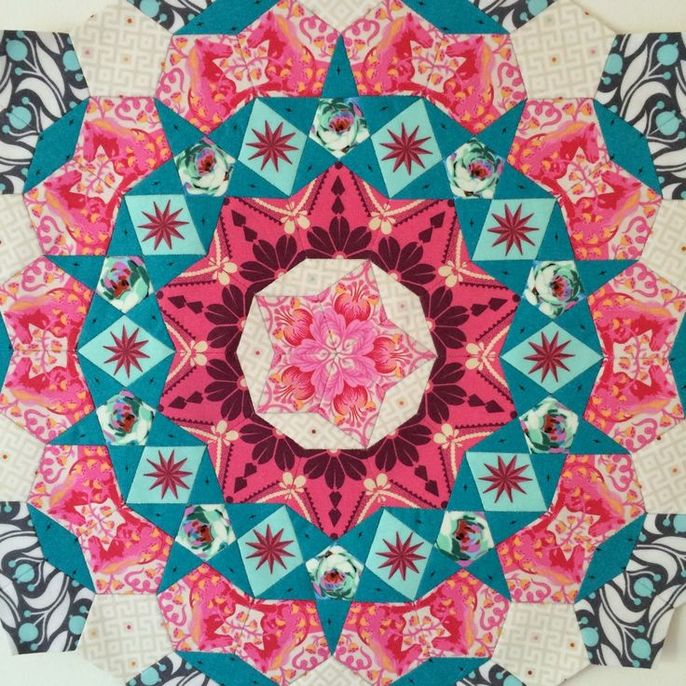
Photo courtesy of flossieteacakes.blogspot.com
Stunning, no? These are referred to as cogs. If you google search la passacaglia, you will be blown away by the fussy cutting beauty that comes up.
So, you think it all looks delightful, but you're saying, "Adora, I've never even tried basic paper piecing. How in the heck will I do this?!"
Not to fear, my friend. The following is a step-by-step breakdown of how to get started with this wonderful sewing method.
So, you think it all looks delightful, but you're saying, "Adora, I've never even tried basic paper piecing. How in the heck will I do this?!"
Not to fear, my friend. The following is a step-by-step breakdown of how to get started with this wonderful sewing method.
Supply List
Before you dive head first into this exciting new journey, you'll need to have your ducks in a row. Make sure you have the following basic items:
THREAD
HAND NEEDLE
ELMER'S PURPLE GLUE STICK
7 HEXIE TEMPLATES IN THE SIZE YOU WANT TO WORK WITH
BALL POINT PEN
FABRIC
Simple enough. Now let's get to the nitty gritty.
THREAD
HAND NEEDLE
ELMER'S PURPLE GLUE STICK
7 HEXIE TEMPLATES IN THE SIZE YOU WANT TO WORK WITH
BALL POINT PEN
FABRIC
Simple enough. Now let's get to the nitty gritty.
Step 1
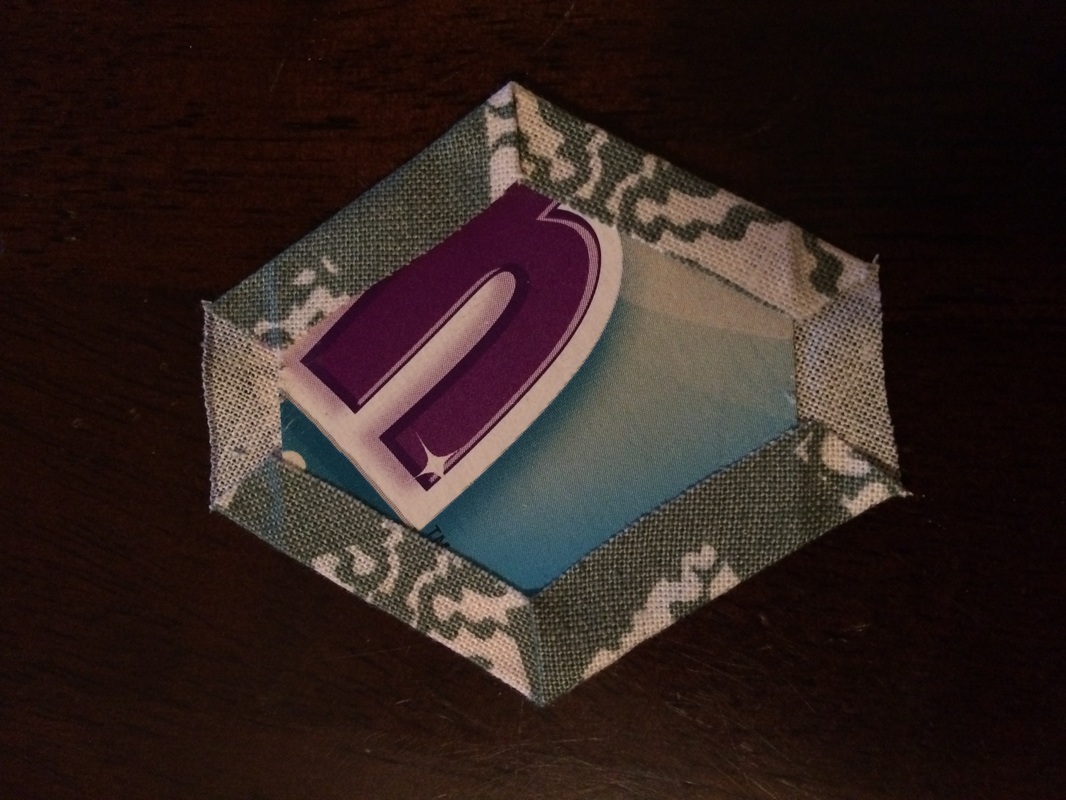
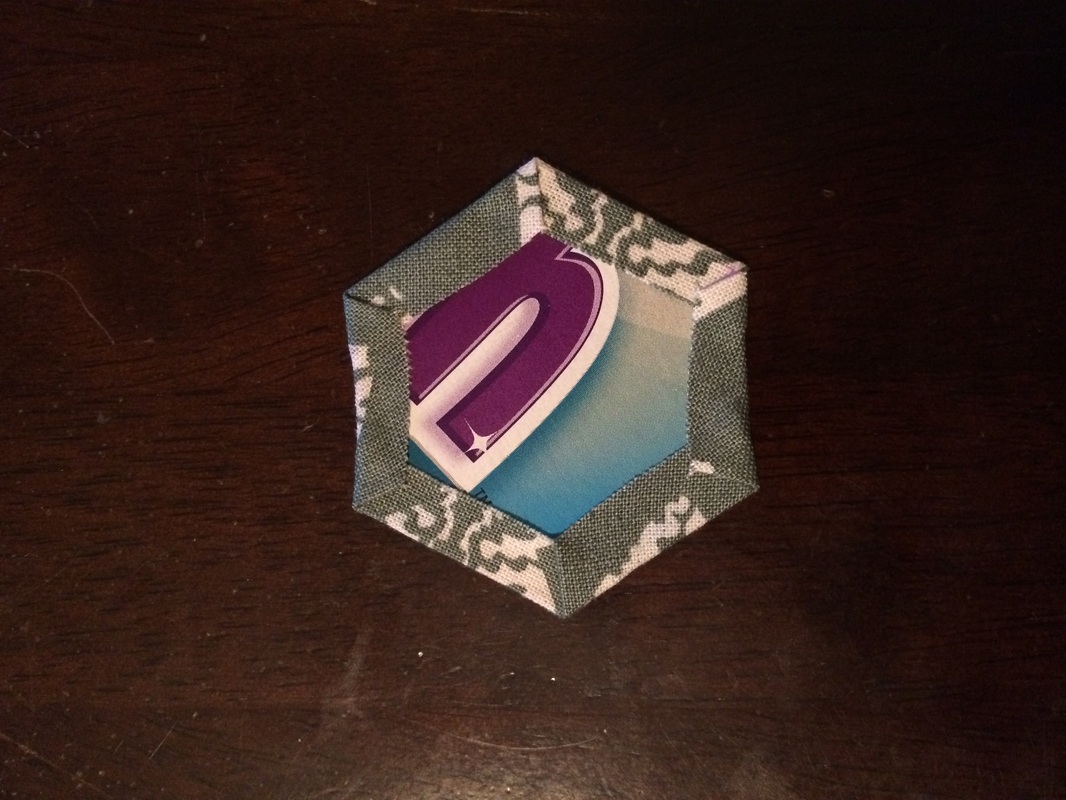
Using a sample hexie printed off from here or purchased in packets from an online site, make a template that includes 1/4" sides for your inseams.
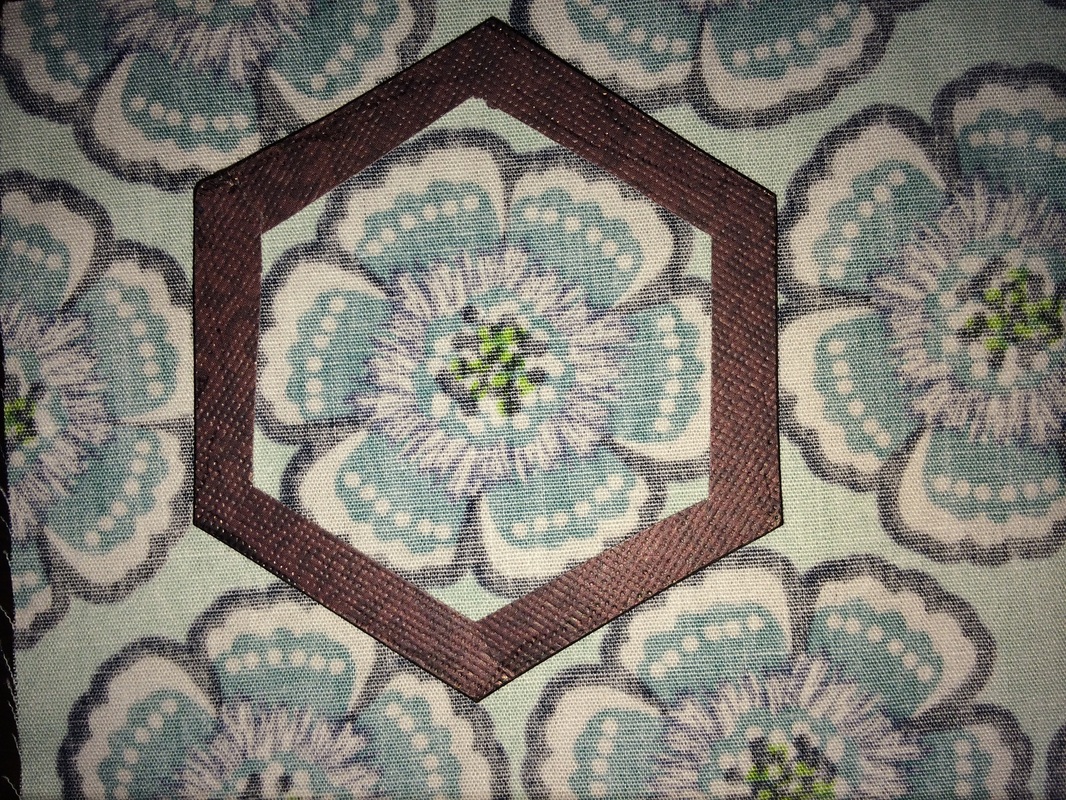
I also like to cut the center out of my template so I can see what my image will look like from the fabric. It's not a necessity if you are good at eyeballing.
*Note: The link for the cog above has a whole tutorial on how to fussy cut for EPP.
*Note: The link for the cog above has a whole tutorial on how to fussy cut for EPP.
Step 2
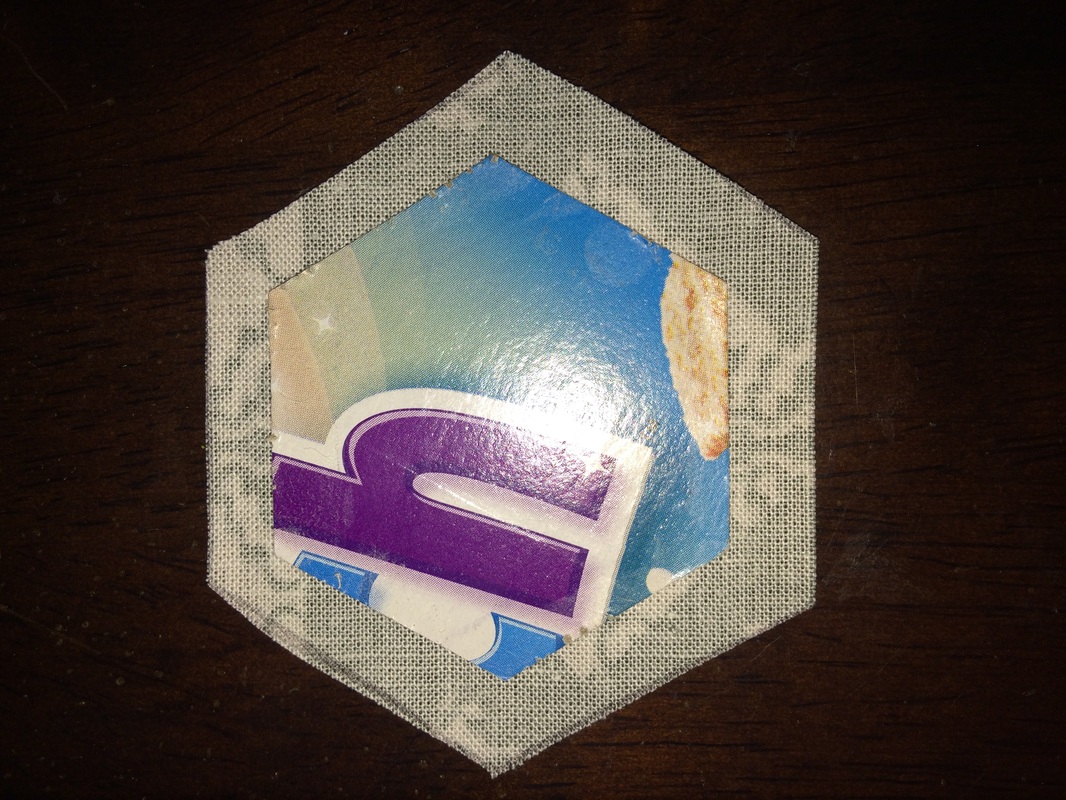
Use the template you made to trace the outline of the hexie onto your fabric.

Step 3
Cut out your fabric hexies. (They should have the extra 1/4" on each side.)

Sorry about the fabric change up. I was taking random shots while doing a few different flowers.
Step 4
Place the hexie without the 1/4" added inseams on your fabric hexie. Then, using the glue stick, glue baste the edges of the fabric to the paper hexie. I prefer to start on side 1, then baste the side opposite of it, and go from there, back and forth. There is no right or wrong way. Just do what feels good.
 | 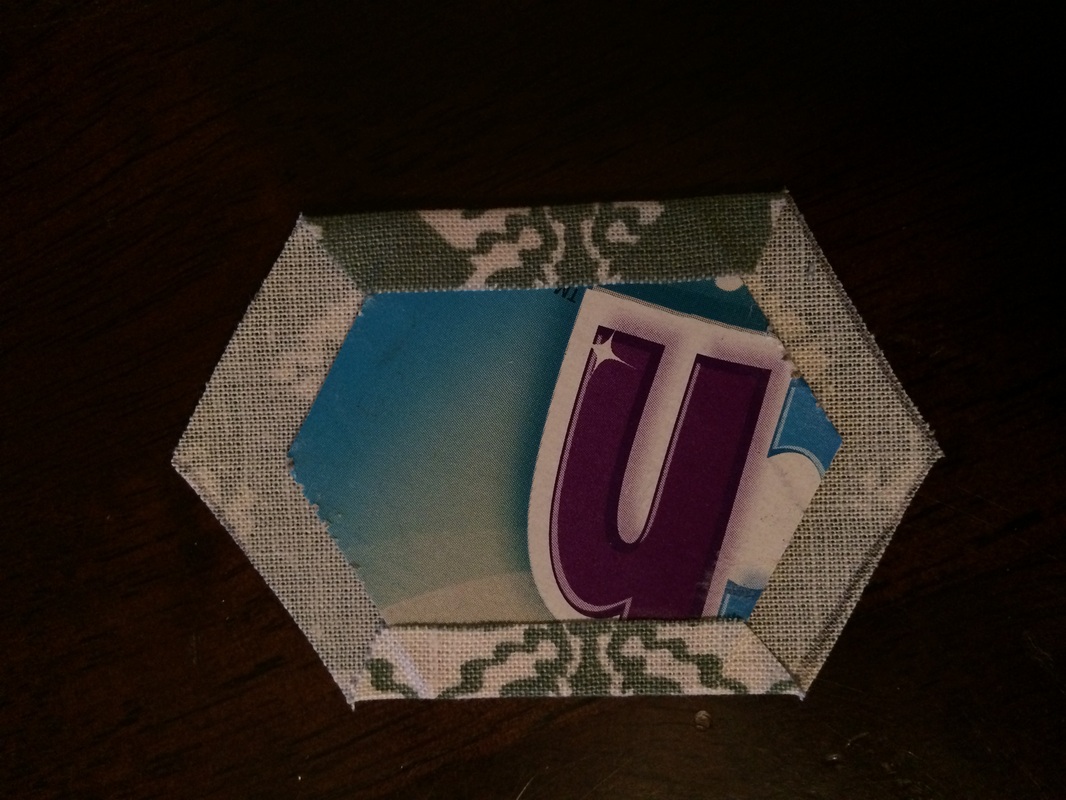 Sorry about the light. |
 |  |
Step 5
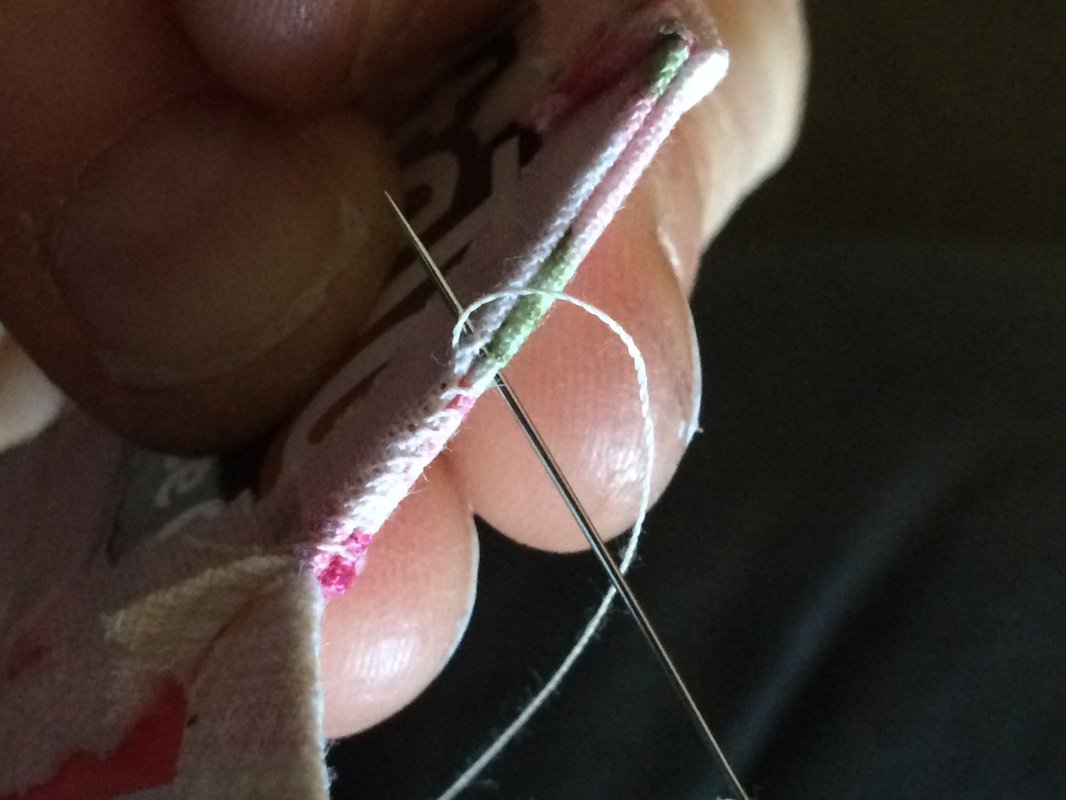
Once all 7 hexies are fabric covered, you can stitch them to each other by using a whip stitch. Try to catch the fabric right above the paper hexies, rather than stitching through the paper. This will make your hexie last longer, and assure that less of your thread shows in your stitching.
Don't freak out if you can see the thread when you lay the stitched hexies flat. You did it right. I promise.
Don't freak out if you can see the thread when you lay the stitched hexies flat. You did it right. I promise.
Step 6
Generally, I work from center to side. I know, you're totally lost, but look at the pictures so you can see what I mean.
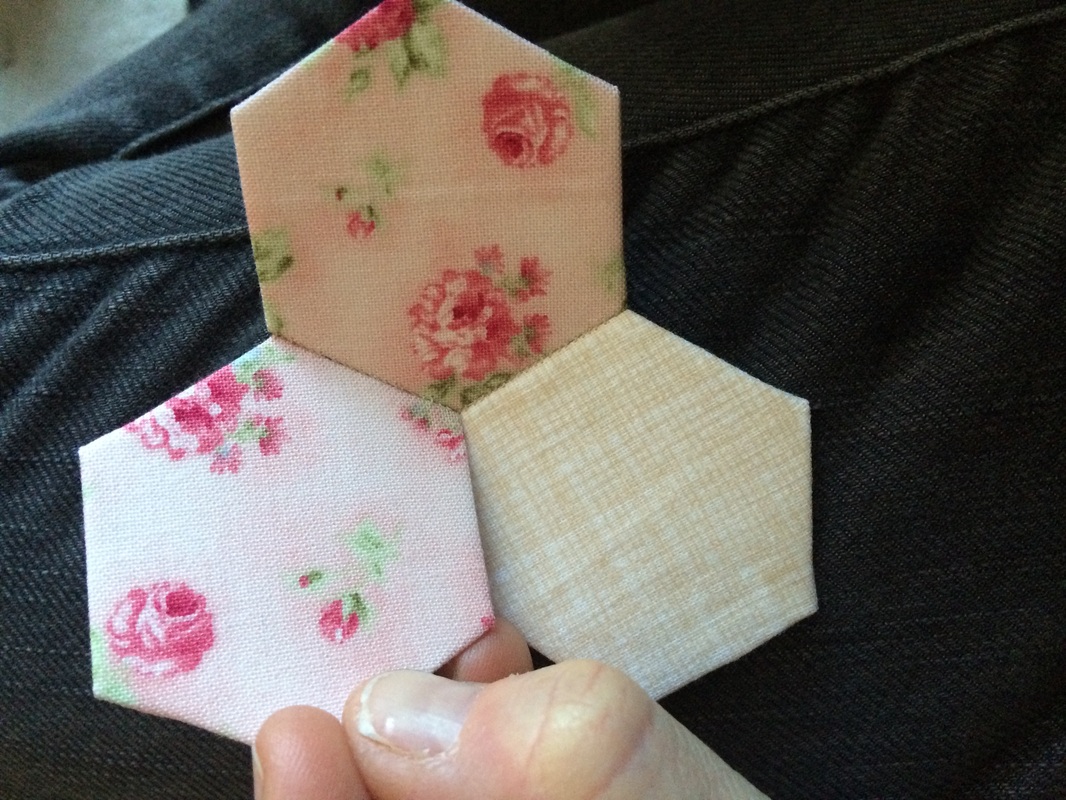 The cream thatching print hexie is my center. I have stitched the two pinks along that center line, touching each other, then I stitched the top pink to my center hexie.  Same as the other pic, just different place in the stitch. | 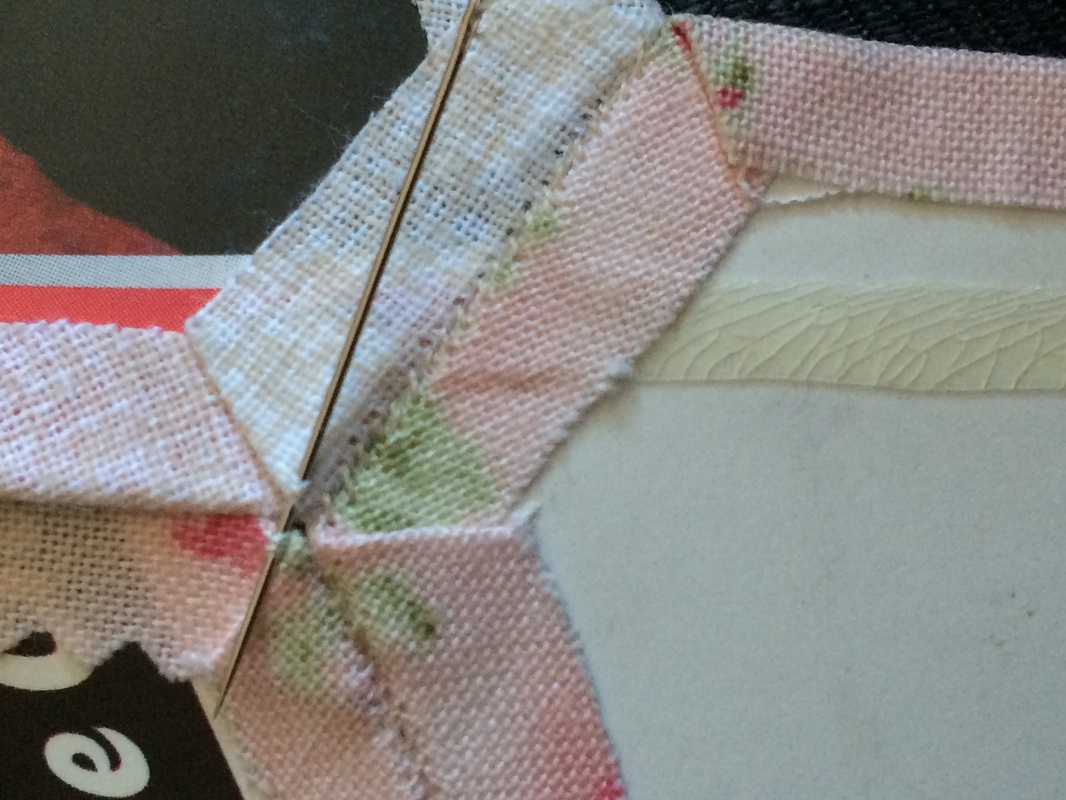 If you use thicker paper for your templates, you may need to keep your hexies flat while you stitch. This, actually, can also ensure that you see little to no seam when you look at the right side. (Still a whip stitch.) |
Step 7
Tie a quilter's knot in your thread once you reach an edge. Then, cut off your thread close to, but not on top of, the knot. You will have little thread ends showing at the tips, but don't fret. These won't be seen once you stitch your flowers to each other.*
*The other option is to start from a side seam and work down to the center. Once you get to the end of the center and your "petal," you could tie off and trim. Doesn't matter. Just personal preference.
*The other option is to start from a side seam and work down to the center. Once you get to the end of the center and your "petal," you could tie off and trim. Doesn't matter. Just personal preference.
Notice that thread in the center of the picture? That's where I tied off the hexie you can see and one that is right sides facing it, underneath.
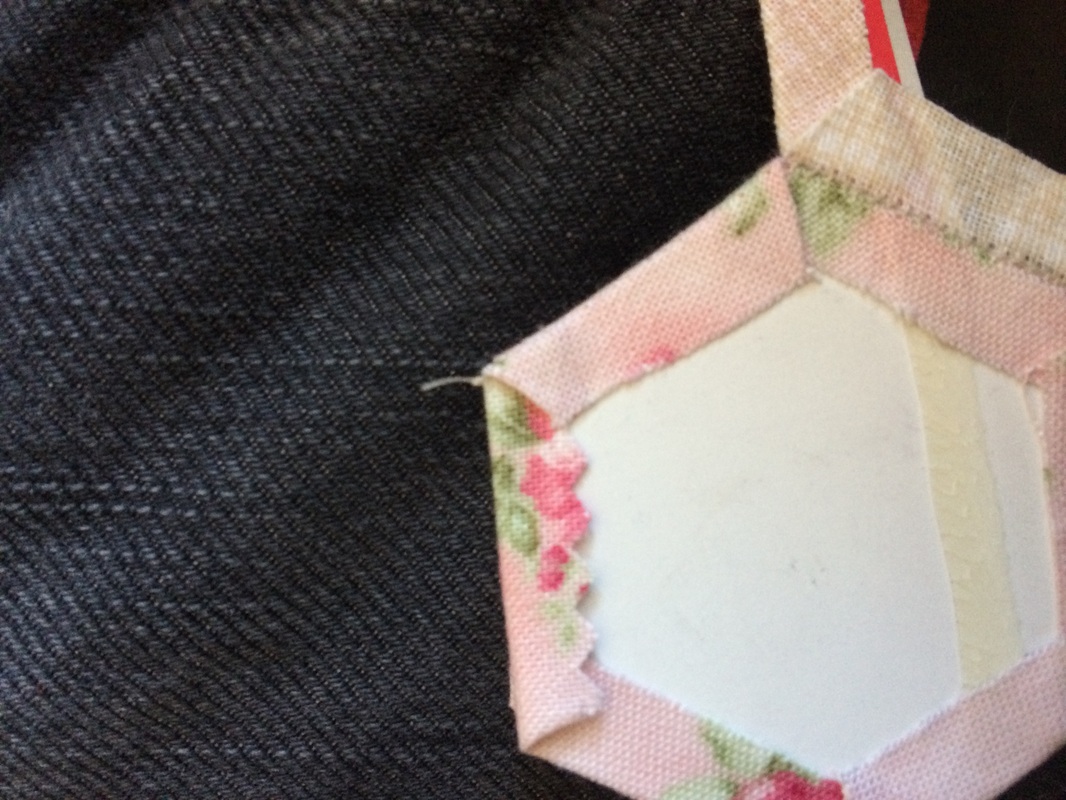
Step 8
Continue whip stitching your "petals" to the center and each other.
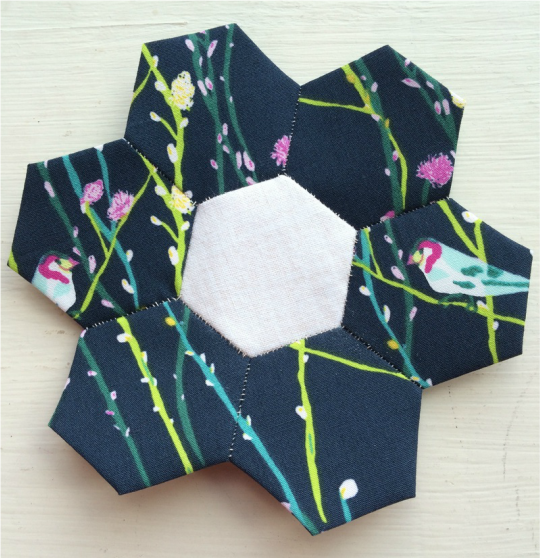
Step 9
Voila! You are all finished! Congrats to you. You can now do EPP!
NOTE: DO NOT REMOVE THE PAPERS UNTIL EVERY SIDE OF EACH OF THE HEXIE IS STITCHED TO ANOTHER SIDE.
NOTE: DO NOT REMOVE THE PAPERS UNTIL EVERY SIDE OF EACH OF THE HEXIE IS STITCHED TO ANOTHER SIDE.
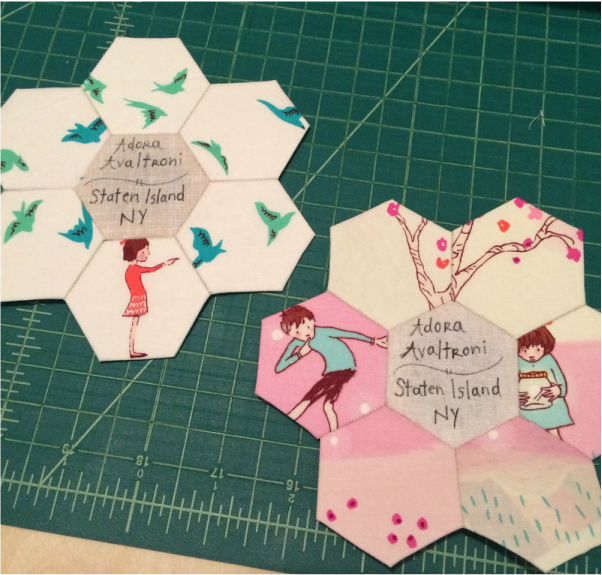
These are two I made for a swap over on instagram under #hexiefriends Shoot on over and check it out. It's gone crazy and a pretty cool thing to be a part of, for sure. And, if you join in on the fun, be sure you message me for a swap. I'm always willing to add more to my quilt.
Watch out! It's pretty addicting and you may find that you start falling behind projects because you enjoy the freedom of EPP and not being stuck behind a machine to sew. Not that I am speaking from personal experience...
Here are some sites to check out for more info or different methods (I am not affiliated with any of these tutorials, I just highly recommend them for their ease of understanding and different ideas of how to piece.):
flossieteacakes.blogspot.co.uk
sewmamasew.com
thezenofmaking.com
Here are some sites to check out for more info or different methods (I am not affiliated with any of these tutorials, I just highly recommend them for their ease of understanding and different ideas of how to piece.):
flossieteacakes.blogspot.co.uk
sewmamasew.com
thezenofmaking.com

 RSS Feed