You know how, sometimes, you get super excited about something that you're designing? I mean, geeked-out-this-is-amazing-I-can't-believe-I-made-this excited?
Then, after you've finished this amazing piece, you start to doubt your stellar-ness. "Is it really as rad as I thought?" "Will other people share my passion for this?"
Ugh! I hate self-doubt. It's really no good. That whole "we are our own worst judges" is SO true! Dang it!
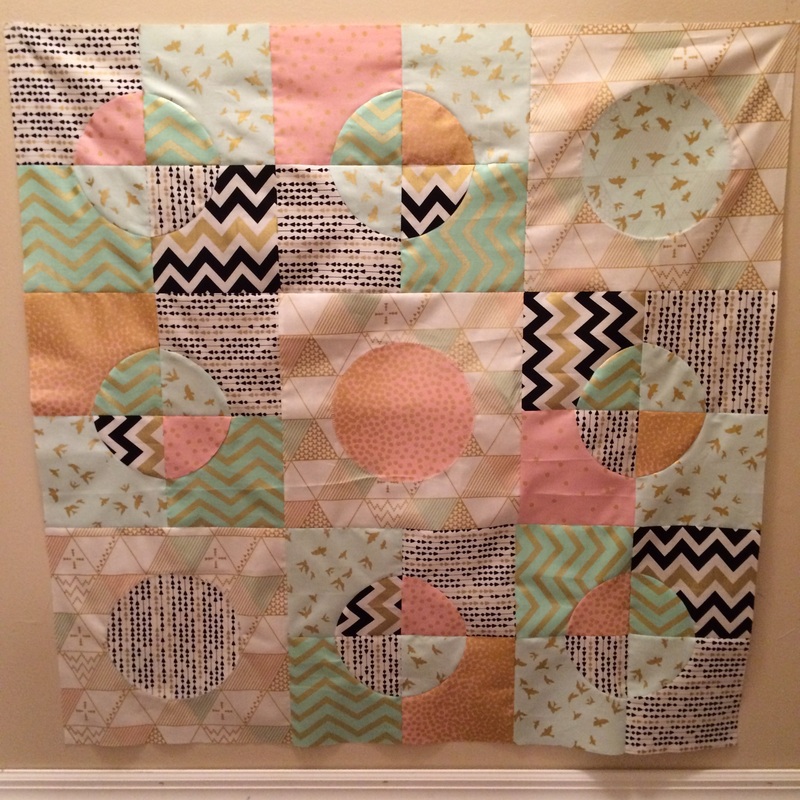
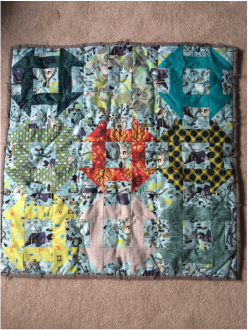
Well, self, too bad. I'm going with my initial gut and love for this quilt. Here it is, in all of it's golden and shiny glory. I hope you love it as much as I do (parting will be such sweet sorrow). There is also a tutorial for the quilt below. Please bombard me with pictures of your makings and let me know if you have any questions about the go-together of it. Drunkards path can be touchy sometimes.
Finished quilt size: 34"x34"
Then, after you've finished this amazing piece, you start to doubt your stellar-ness. "Is it really as rad as I thought?" "Will other people share my passion for this?"
Ugh! I hate self-doubt. It's really no good. That whole "we are our own worst judges" is SO true! Dang it!
Well, self, too bad. I'm going with my initial gut and love for this quilt. Here it is, in all of it's golden and shiny glory. I hope you love it as much as I do (parting will be such sweet sorrow). There is also a tutorial for the quilt below. Please bombard me with pictures of your makings and let me know if you have any questions about the go-together of it. Drunkards path can be touchy sometimes.
Finished quilt size: 34"x34"
The quilt. Tic-Tac-Toe
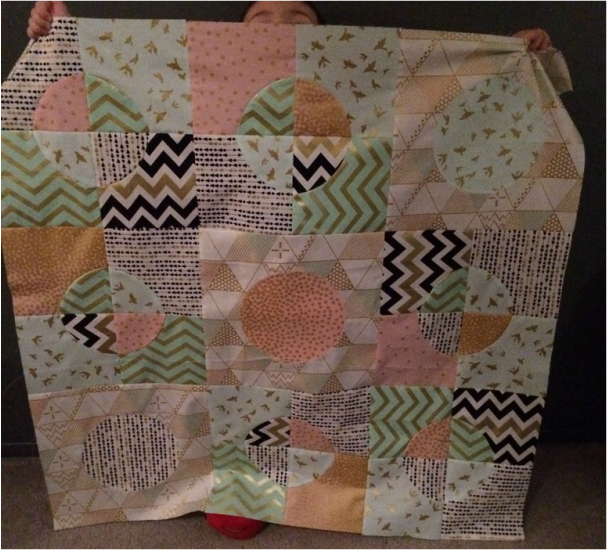
My Bubba wanted to help with the display.
The Tutorial.
What you need:
1/2 yard each of various pretty and shiny fabrics in 6 different patterns (you can choose less if you prefer a less scrappy look)
Drunkards Path die or print out of a 6" pattern for the drunkards path
1/2 yard of Pellon Wonder Under --> can be purchased pretty much anywhere that sells fabric
Thread
Iron and board
Rotary cutter
Cutting mat
Cutting ruler
Scissors
Getting Started:
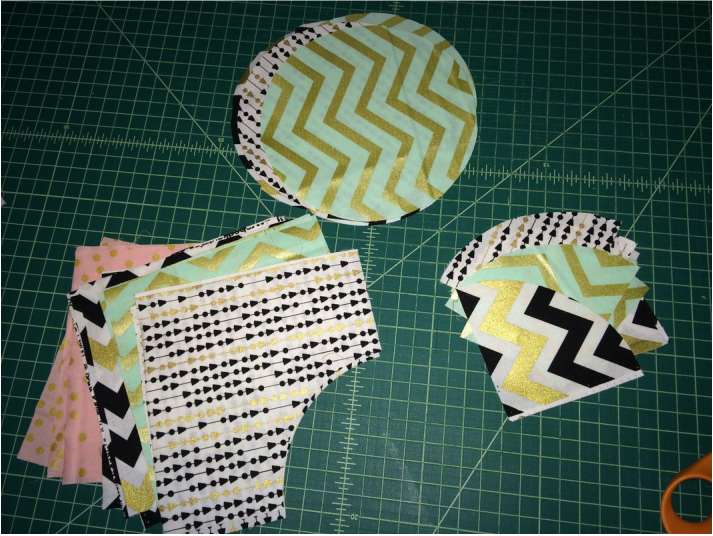
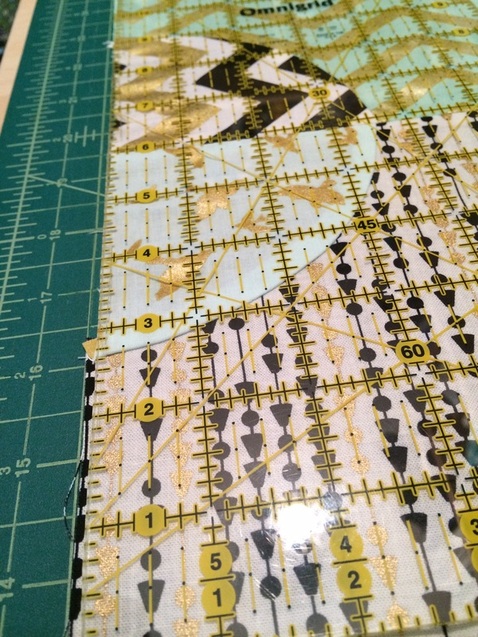
You will need to cut 24 drunkard's path pieces (24 large pieces and 24 quarter circle pieces) from your 5 fabrics. The 6th will be used for 3 of the circle blocks. Decide how many of each you want to have in your quilt, then line them up and start cutting. I found it quicker and much more easy to fold my fabric in half and get two cuts per rather than cutting out each one individually. (I started out with the latter and it took way too long.)
In order to get the circles, I cut four consecutive of the larger section of the drunkard's path die. By lining them up in a big square, I was able to get a near-perfect circle in the center. Killed two birds with one stone rather than having to then find a circle with a 6.5" diameter to make a template.
You will also need to cut out 3 - 12" squares from the 6th fabric you selected. Again, I chose to fold my fabric in half so my work was quick. (Unfortunately, I forgot to take a picture of that part.)
1/2 yard each of various pretty and shiny fabrics in 6 different patterns (you can choose less if you prefer a less scrappy look)
Drunkards Path die or print out of a 6" pattern for the drunkards path
1/2 yard of Pellon Wonder Under --> can be purchased pretty much anywhere that sells fabric
Thread
Iron and board
Rotary cutter
Cutting mat
Cutting ruler
Scissors
Getting Started:
You will need to cut 24 drunkard's path pieces (24 large pieces and 24 quarter circle pieces) from your 5 fabrics. The 6th will be used for 3 of the circle blocks. Decide how many of each you want to have in your quilt, then line them up and start cutting. I found it quicker and much more easy to fold my fabric in half and get two cuts per rather than cutting out each one individually. (I started out with the latter and it took way too long.)
In order to get the circles, I cut four consecutive of the larger section of the drunkard's path die. By lining them up in a big square, I was able to get a near-perfect circle in the center. Killed two birds with one stone rather than having to then find a circle with a 6.5" diameter to make a template.
You will also need to cut out 3 - 12" squares from the 6th fabric you selected. Again, I chose to fold my fabric in half so my work was quick. (Unfortunately, I forgot to take a picture of that part.)
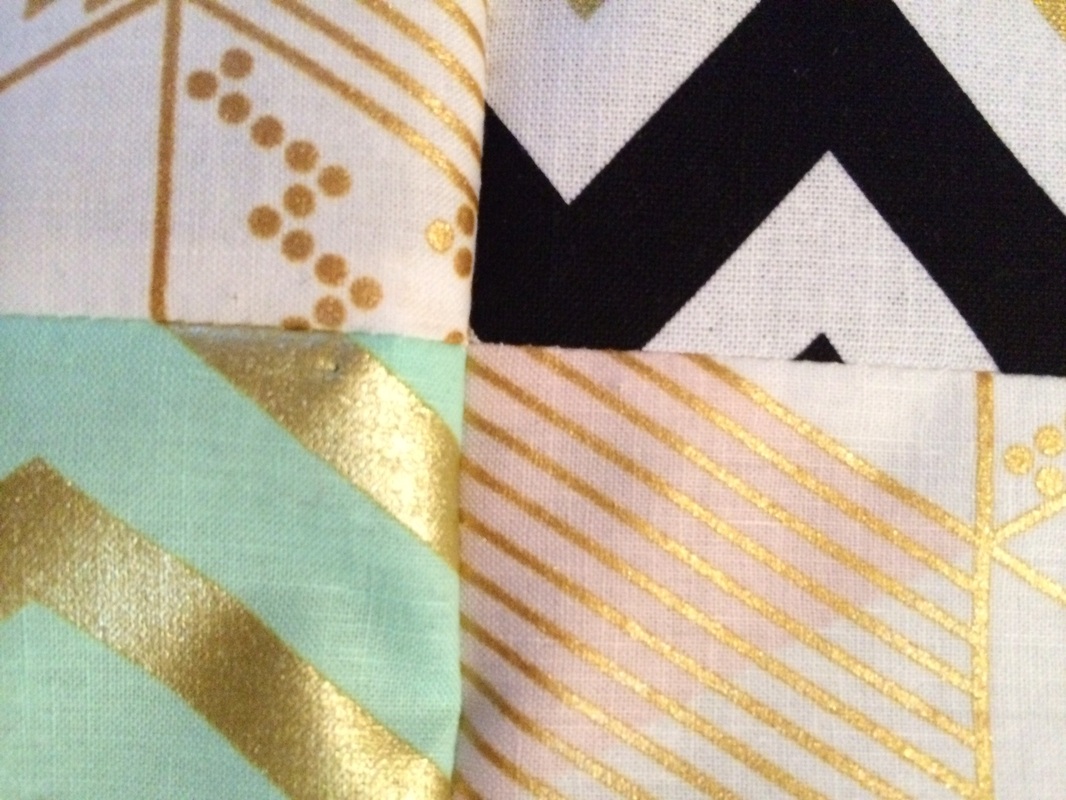
Lay out your fabrics until you find a fit that is pleasing to you.
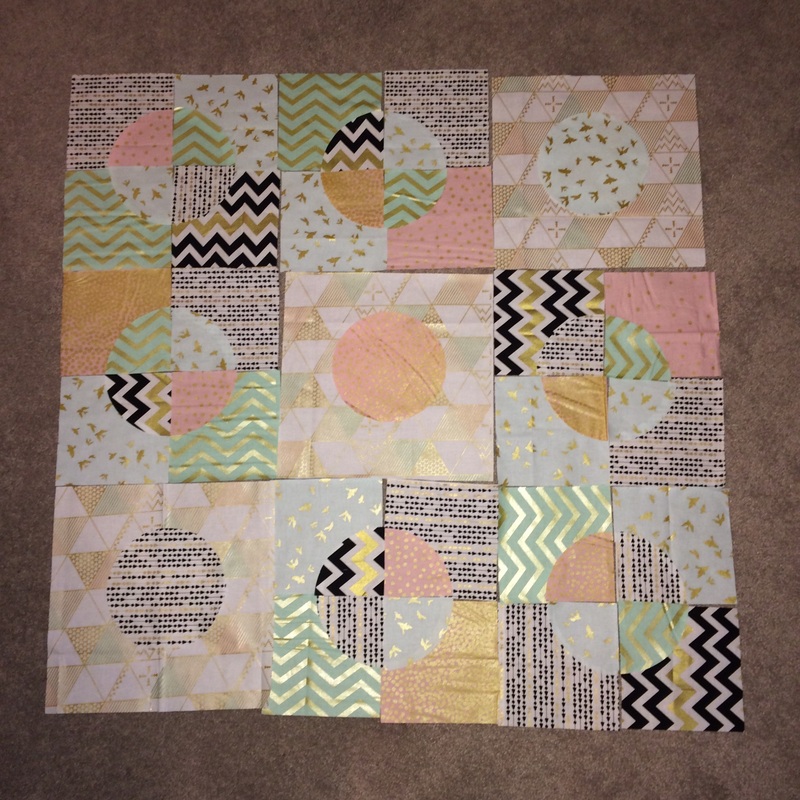
Start sewing.
I like to take a pic of my layout in case my little boy decides to "jump in the leaves" with my fabric. That way, I have a reference for what I liked and feel less like locking him in his room until I finish. It's a win for both parties involved.
*NOTE
If you have never sewed a drunkard's path block before, there are some things you should know:
1. It's just like sewing any other block. Really.
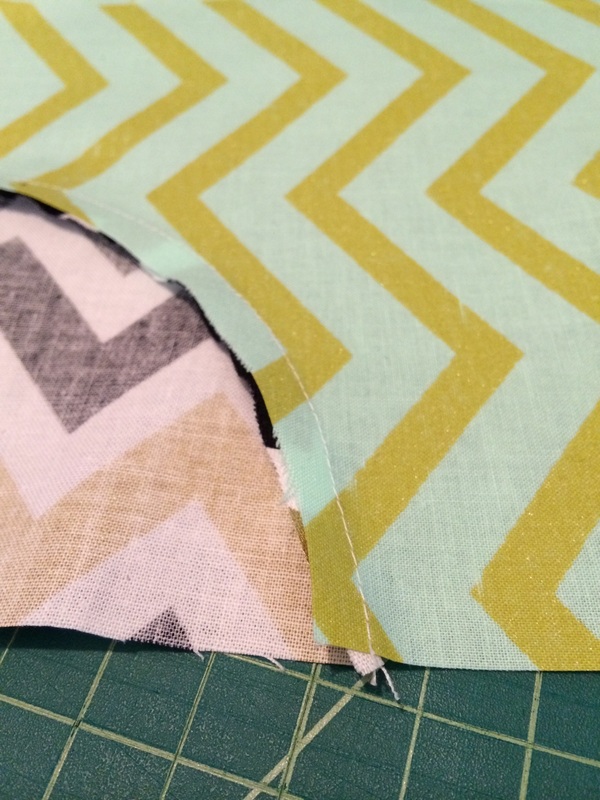
2. Fabrics are facing right sides together Line up the edges, starting at the top and stitch slowly. SLOWLY!
3. Stop your machine from time to time to ensure that you are lining up your edges along the curve.
4. If you're like me, you will have some excess of the larger block. DON'T WORRY! You will be trimming your blocks to size again.
5. Press your seams towards the center fabric or quarter circle fabric.
6. PRESS YOUR SEAMS! I can't stress that enough. It just makes your fabric lay down much better and make for an easier job.
You can also check out this video if you're still feeling a bit unsure.
I like to take a pic of my layout in case my little boy decides to "jump in the leaves" with my fabric. That way, I have a reference for what I liked and feel less like locking him in his room until I finish. It's a win for both parties involved.
*NOTE
If you have never sewed a drunkard's path block before, there are some things you should know:
1. It's just like sewing any other block. Really.
2. Fabrics are facing right sides together Line up the edges, starting at the top and stitch slowly. SLOWLY!
3. Stop your machine from time to time to ensure that you are lining up your edges along the curve.
4. If you're like me, you will have some excess of the larger block. DON'T WORRY! You will be trimming your blocks to size again.
5. Press your seams towards the center fabric or quarter circle fabric.
6. PRESS YOUR SEAMS! I can't stress that enough. It just makes your fabric lay down much better and make for an easier job.
You can also check out this video if you're still feeling a bit unsure.
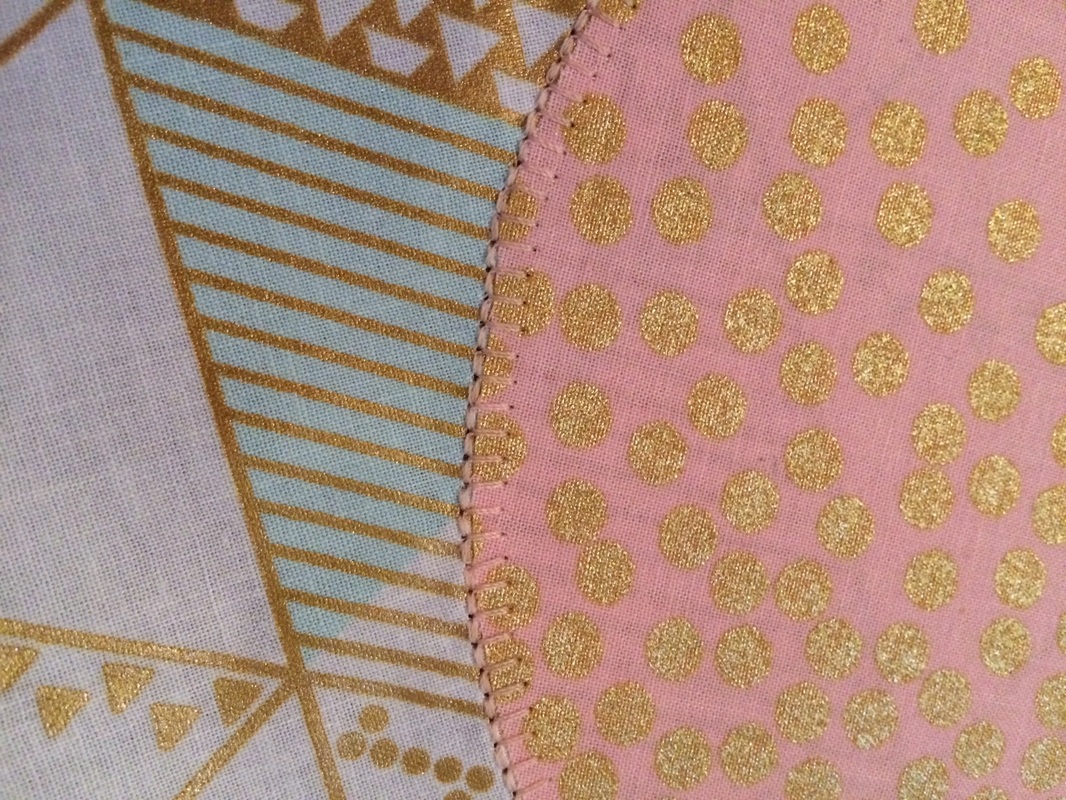
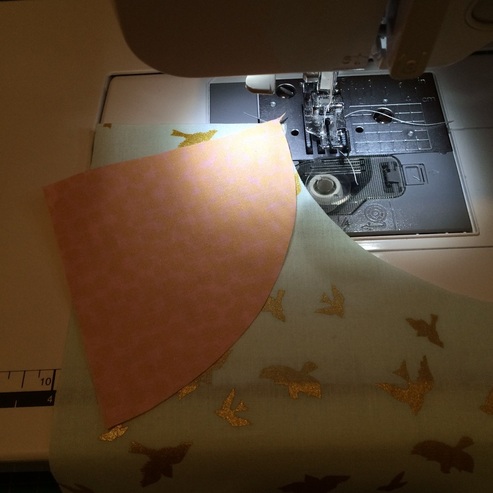  | 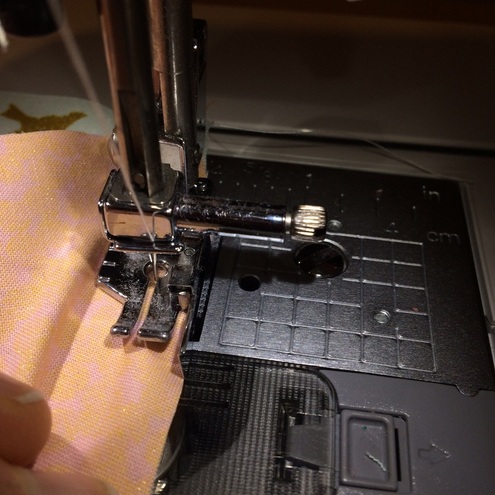 You'll notice, my presser foot is pretty handy. It's a 1/4" foot that ENSURES you keep your 1/4" inseams on point. It's pretty much amazing and I HIGHLY recommend it if you can get one for your machine. 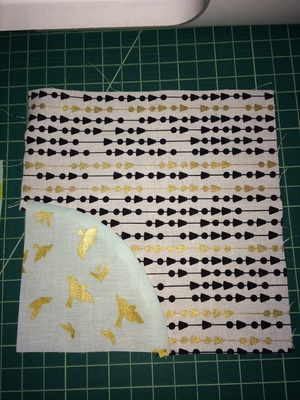 |
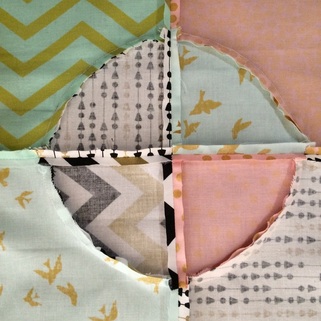
Stitch your drunkard's path individuals to another block, making sure to line up your curve edges. Then, trim your block, if necessary.
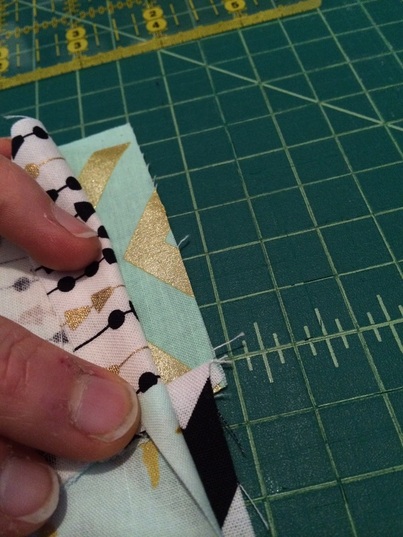 |  |
Sew your other two individual blocks together, repeat your trim and press your seams open.
Sew the first two blocks to the two you just finished, making sure to line up your center seam and curve seams. Press seams open.
Continue in this fashion with your remaining blocks until you have finished all of the drunkard's path blocks. Trim the blocks to 12" each.
Sew the first two blocks to the two you just finished, making sure to line up your center seam and curve seams. Press seams open.
Continue in this fashion with your remaining blocks until you have finished all of the drunkard's path blocks. Trim the blocks to 12" each.
 |  |
Using one of your circles as a template, make 3 circles on the Pellon Wonder Under. Following manufacturer's instruction, attach the Pellon to each of the 3 circles.
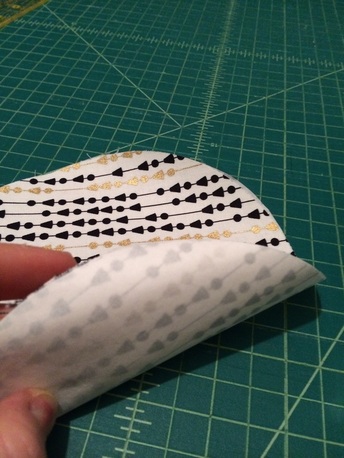
Find the center of your circle and the center of the 12" squares you had cut out from the 6th fabric. I used a fabric pen to mark a small dot on my 12" square and the paper backing of the circle. Using a pin, I poked a hole through the circle, noting where it came through on the front. Remove pin from the circle, push pin up through back of 12" square at the dot you marked for the center.
Peel off the paper backing on the circle. Set the circle Wrong Side onto Right Side onto the 12" fabric. You should have the pin point coming up through the center of both your 12" fabric as well as your circle.
Press to one side of the pin on the circle. Remove pin and finish ironing remainder of the circle fabric to the 12" square.
Repeat for remaining 2 circles.
Using an applique' stitch on your machine and the corresponding presser foot, stitch around each of the 3 circles.
You can use a thread color that corresponds with the circle or an accent color, if you prefer.
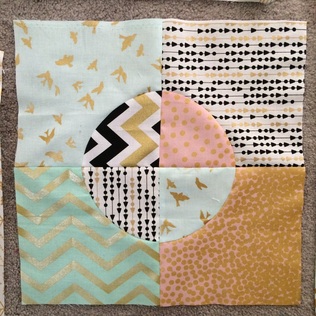
Stitch your rows. Be sure to align your center seams for the blocks that have the drunkard's path circles on them.
 | 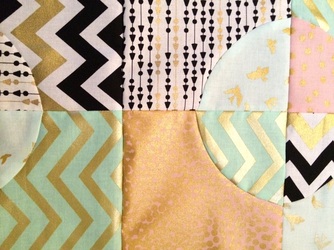 |
*Sidenote: It's so magical when everything lines up the way it's supposed to. -Sigh-
Be sure you press your seams after doing your rows and before sewing them to each other. It really helps with lining up your seams and keeping the bulk low on your quilt back.
Sew your rows to your rows and press your seams.
Hooray!!!
Be sure you press your seams after doing your rows and before sewing them to each other. It really helps with lining up your seams and keeping the bulk low on your quilt back.
Sew your rows to your rows and press your seams.
Hooray!!!
YOU DID IT!
How rad is that?! Drunkard's Path, boo-yah!
So, if you're like me and free motion quilting makes you scream and run in the other direction, or you just can't afford to ship off your quilts, you might consider tying your quilts. What's that, you say? Check out a couple of quilts I've made using the tie method. I really love how homey and comfy they feel and look. (The heavy loft batting helps too!)
 Baby sized quilt available on my etsy site. | 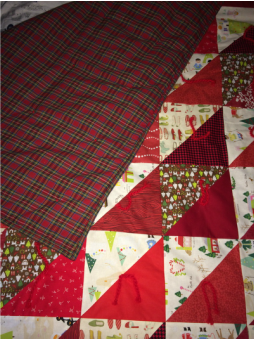 Twin sized. |
I hope you've enjoyed my tutorial and pattern. I'm still in the early stages of designing tutorials so any feedback is welcome.
Keep sweating and sewing!
Adora

 RSS Feed